
Blooming
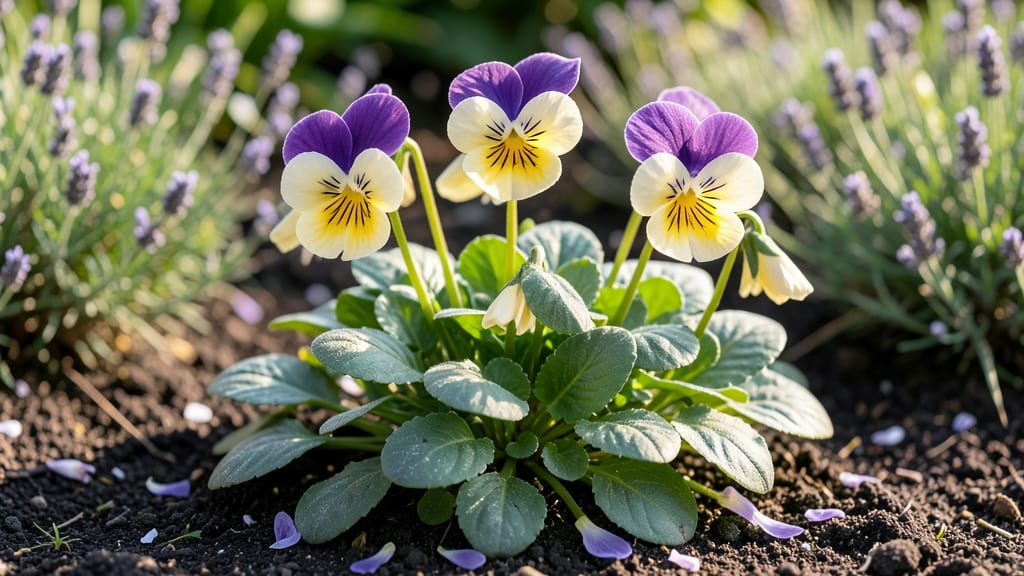
There's something magical about seeing "love is in bloom" in your garden—it turns a simple space into a romantic sanctuary. 🌸 I've crafted signs from reclaimed wood, painted stones, and even woven vines to capture that feeling, and they've become the heart of my spring garden every year.
The best part? You don’t need fancy materials to create this charm. A few hours with basic supplies—a wooden stake, some paint, or even dried flowers—can transform your yard into a love-filled haven.
Think rustic wooden signs leaning against a trellis, delicate floral wreaths hanging from arches, or even engraved metal stakes marking a special spot.
By summer, your sign will be surrounded by blooming roses, sunflowers, and lavender—flowers that whisper romance with every petal. Imagine it: a quiet morning with coffee in hand, watching bees buzz around your "love is in bloom" centerpiece, or a sunset where the golden light makes the words glow.
Perfect for weddings, anniversaries, or just because—this isn’t just decor, it’s a love letter to your garden. Let’s bring that joy to life, one bloom at a time.
📚 In This Guide
- What you need
- Instructions
- Tips and common mistakes
- Wrapping up and next steps
What you need
- ● Wooden sign base: 12" x 18" or 16" x 20" (½" thick pine or plywood—sanded smooth for a polished look).
- ● Wood stain or paint: 1 can (choose pastel pink, soft sage, or buttery yellow for a dreamy vibe).
- ● Acrylic paint: 1 set (white, blush pink, mint green, and gold for accents).
- ● Paintbrushes: 1 medium (½" flat) + 1 fine-tip brush for details.
- ○ Wood-burning tool (optional but fun!): For customizing with intricate designs or names.
- ● Stencils or vinyl letters: Pre-cut "Love Is In Bloom" letters (or a floral stencil for freehand painting).
- ● Clear sealant spray: 1 can (matte or glossy finish to protect your masterpiece).
- ● Hot glue gun + glue sticks: For attaching lightweight embellishments.
- ● Fake flowers: 3-5 small blooms (roses, daisies, or baby’s breath for texture).
- ● Ribbon or twine: 1 spool (satin ribbon in blush or gold for a romantic touch).
- ● Wooden beads or charms: 3-4 pieces (hearts, butterflies, or tiny flowers).
- ○ Chalkboard paint + chalk marker: For a fun, customizable message board (optional upgrade!).
- ● Measuring tape + pencil (for marking designs).
- ● Sandpaper (120-grit to smooth rough edges).
- ● Drop cloth or newspaper (to protect your workspace).
- ● Patience and a love for spring! ✨
Step-by-step instructions for crafting your whimsical love is in bloom sign
Here's how to create a charming garden sign that brings springtime cheer—no fancy tools needed.
🪴 Step 1: Gather Your Materials and Sketch the Design
First, gather your supplies: a wooden board or slab (about 12x12 inches works perfectly), outdoor paint or chalkboard paint, stencils or stencil letters (or freehand if you're feeling creative), a paintbrush, sealant spray, and a pencil. I like to sketch my design lightly in pencil first—this helps visualize the layout before committing to paint.
For the "Love Is In Bloom" sign, I draw a simple heart shape at the top, then write the words in a flowing script beneath it. The heart represents love, while the blooming flowers (which you can paint or add later) symbolize spring. Keep your sketch simple—this isn't a masterpiece, it's meant to welcome guests with warmth.
🎨 Step 2: Paint the Background and Add Details
Start by painting your wooden board with a light, cheerful color—soft pastels or sky blues work beautifully for a springtime vibe. Let it dry completely, then lightly sand any rough spots with fine-grit sandpaper. This ensures your paint and sealant stick smoothly.
Once the base coat is dry, use your stencils or freehand to paint the heart and text. For extra whimsy, add small flower shapes or vines around the edges. I like to use a darker shade for the text so it stands out against the lighter background. Let everything dry fully—rushing this step can cause smudges or uneven paint.
✨ Step 3: Seal and Protect Your Sign
After the paint is completely dry, spray on a clear outdoor sealant to protect your sign from rain and sun. This step is crucial—without it, your sign will fade or peel within weeks. Hold the can about 12 inches away and apply two even coats, letting each dry for 15-20 minutes between layers.
Once sealed, let your sign cure for 24 hours before hanging. This gives the sealant time to fully harden. I like to mount mine on a small wooden post or hang it with rustic twine for a charming garden touch. Place it near your entrance or a cozy seating area where guests will see it first.
🌱 Step 4: Enhance With Live Elements (Optional)
To make your sign truly bloom, add a few live plants or flowers around it. Small potted succulents, delicate violets, or even a tiny terrarium can bring your sign to life. Arrange them in a half-circle around the base for a natural, welcoming display.
For extra magic, swap out the plants seasonally—spring bulbs in spring, sunflowers in summer, and dried flowers in fall. This keeps your sign fresh and tied to the changing seasons. Watch as your sign becomes a focal point that evolves with your garden!
Tips & tricks for perfect whimsical garden signs
Creating a charming garden sign is all about balancing creativity with practicality—here's how to elevate your project from cute to stunning.
Design Prep: Before sketching, trace your wooden board's edges lightly with pencil. This creates a natural border for your design, preventing awkward cutoffs when painting. I also recommend using a ruler to keep your heart shape centered—it makes the final sign look more polished and intentional.
Paint Application: In Step 2, work in thin layers rather than thick coats. Thick paint can create drips that ruin your clean lines, especially with stencils. Let each layer dry completely between applications—this is where that 15-20 minute drying time between sealant coats comes in handy! For text, I use a slightly thicker brush to create more character.
Sealant Strategy: The 24-hour cure time is non-negotiable, but here's a pro move: lightly sand your sign with 220-grit sandpaper after the first sealant coat dries. This creates a slightly rough surface for the second coat to grip better, making your sign more durable against weather. Work in a well-ventilated area during this step!
Seasonal Customization: For the optional live elements in Step 4, consider adding small hooks to your sign's back. You can then swap out flowers or plants without removing the entire sign. I use miniature gold hooks that blend beautifully with rustic decor—just drill tiny pilot holes first to prevent splitting the wood.
Pro Tips for Love Is In Bloom Sign
- Creating a charming garden sign is all about balancing creativity with practicality—here's how to elevate your projec...
- Design Prep: Before sketching, trace your wooden board's edges lightly with pencil. This creates a natural border for...
- Paint Application: In Step 2, work in thin layers rather than thick coats. Thick paint can create drips that ruin you...
Frequently asked questions
What’s the best material for a durable "Love Is In Bloom" sign?
A weather-resistant material like powder-coated metal or polywood is ideal for outdoor signs. For a rustic touch, cedar or redwood works beautifully but may need sealing. Avoid untreated wood or thin plastics—they won’t hold up to rain or sun!
How long does it take to make one of these signs?
If you’re crafting from scratch, plan for 2–4 hours, depending on your skill level. Cutting and sanding take the longest, while painting and lettering can be sped up with stencils. Pro tip: Pre-paint letters or use vinyl decals to save time!
Can I customize the sign with my own message?
Swap out "Love Is In Bloom" for personal touches like "Spring Flings Ahead" or "Garden Love Grows Here". Use a chalkboard paint finish for erasable updates, or add calligraphy for a handmade feel. Just ensure your design fits the sign’s dimensions!
Where’s the best spot to display this sign in my garden?
Place it near your front door, garden entrance, or a cozy seating area for maximum impact. For a whimsical vibe, hang it from a tree branch or lean it against a trellis. Avoid shady spots—sunlight helps the colors pop and keeps the sign visible!
What if my sign starts looking faded or worn?
Revive it with a fresh coat of outdoor paint or sealant. For rusted metal, use a wire brush and rust converter. If the wood warps, sand it smooth and reapply sealant. A little TLC can make it look brand new!
Are there pre-made signs available, or should I DIY?
Both options work! Pre-made signs (from Etsy or garden stores) offer convenience, while DIY lets you tailor size, material, and design. Budget-friendly? Try a reclaimed pallet or thrifted frame for a unique look. Either way, your garden will bloom with personality!
Wrapping up and next steps
Your Love Is In Bloom sign isn’t just a charming garden decoration—it’s a symbol of hope, creativity, and the joy of spring.
Whether you crafted it with hand-painted flowers, rustic wood, or vibrant metalwork, this piece brings warmth to your outdoor space and spreads happiness to all who see it. Let it inspire you to keep nurturing your green thumb and embracing the little moments that make life beautiful.
🌸 Next step: Share your creation! Snap a photo, tag #LoveIsInBloom, and let your garden art spark joy in others. Who knows? Your sign might just become the next viral spring sensation! 🌷