
Blooming
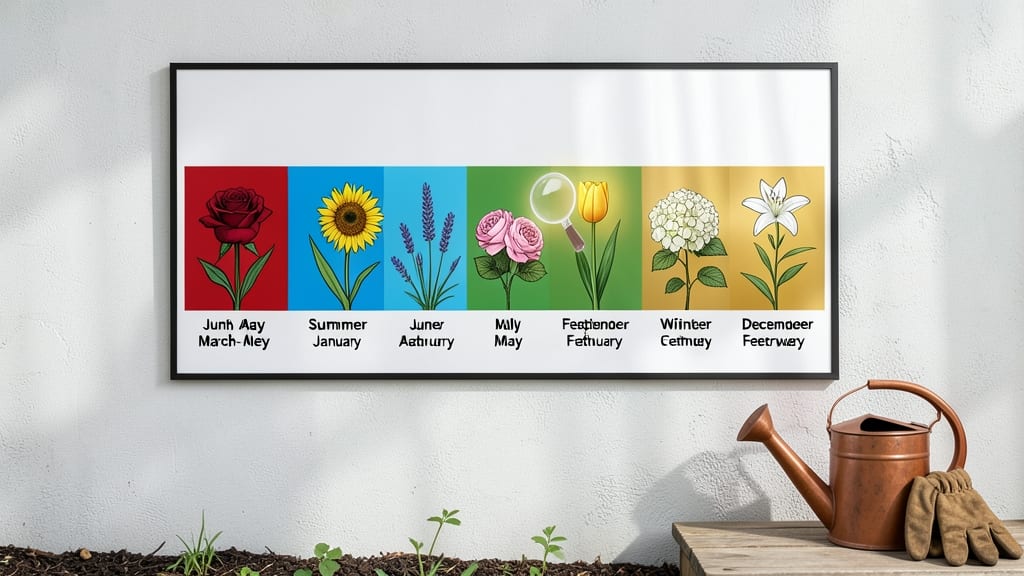
A flower bloom time chart is your secret weapon for a garden that never looks bare. 🌸 I remember my first year trying to time plantings—spring bulbs bloomed too late, summer flowers faded before fall color arrived.
Now, I plan each season like a painter choosing colors, knowing exactly when each plant will shine.
This isn't just about memorizing dates—it's about layering blooms so your garden stays vibrant from early spring tulips through late-fall asters. The chart organizes plants by zone, showing how cold-hardy hellebores start the show while heat-loving zinnias take over in summer.
You'll spot gaps and fill them with annuals or perennials that bridge the seasons.
Once you master the timing, you'll extend bloom periods with simple tricks: deadheading spent blooms, fertilizing at the right moments, or choosing varieties bred for long seasons. Imagine roses blooming from June to frost or chrysanthemums stretching their show into November.
The chart even highlights sequential color pairings—like blue delphiniums fading into purple salvia—that keep your garden looking fresh.
Perfect for new gardeners planning their first beds or veterans refining their designs. Whether you're in Zone 3's harsh winters or Zone 10's mild climate, this system adapts to your growing conditions. Let's turn your garden into a year-round masterpiece, one bloom at a time.
📚 In This Guide
- What you need
- Instructions
- Tips and common mistakes
- Wrapping up and next steps
What you need
- ○ Printed or digital bloom time chart: A pre-made seasonal chart for your USDA Hardiness Zone (find yours blank">here). Optional: Customize with a blank template (e.g., Excel or Canva).
- ● Pencil or fine-tip markers: 2–4 colors (e.g., pink for spring, blue for summer) to highlight bloom periods.
- ● Notebook or binder: For organizing charts, notes, and plant lists (or use a digital tool like Evernote).
- ● Plant catalogs or seed packets: To cross-reference bloom times with specific varieties (e.g., Echinacea vs. Rudbeckia).
- ● Ruler or measuring tape: For scaling charts if you’re creating a physical garden layout.
- ● Digital tablet or scanner: To digitize handwritten charts for easy updates.
- ● Color printer: For high-quality, durable charts (use matte paper for outdoor use).
- ● Garden planning apps: Like Gardenate or Pro Landscape for interactive bloom tracking.
- ● Weather-resistant sleeve: To protect outdoor charts from rain/sun (e.g., a laminated pouch).
- ● Clipboard or binder clips: For securing charts in your garden or greenhouse.
- ● Know your USDA Hardiness Zone (e.g., Zone 5–9). Pro tip: Use the blank">USDA interactive map!
- ● Basic knowledge of annual vs. perennial plants (annuals bloom once; perennials return yearly).
- ● Access to local nursery or online seed databases for region-specific plants.
How to plan your garden's seasonal color calendar
Here's the system I use to create a year-round display of blooms—no dead zones, ever.
🌱 Step 1: Identify Your Garden Zone and Last Frost Dates
First, determine your USDA hardiness zone (find it via the USDA Plant Hardiness Zone Map) and note your average last frost date in spring and first frost date in fall. These dates anchor your planting timeline. For example, in Zone 5, I plant cool-season annuals like pansies in late April (after frost) and switch to heat-lovers like zinnias in mid-May.
Write down these dates on your calendar—this is your foundation. If you're unsure, check local gardening forums or your county extension office. I always verify with neighbors; their gardens are the best real-time data source. This step prevents the classic mistake of planting tender annuals too early and losing them to frost.
☀️ Step 2: Map Annuals to Seasonal Windows
Divide your garden into four seasonal color blocks: early spring, late spring/summer, summer-to-fall, and fall-to-winter. For each block, select 3-5 annuals that thrive in your zone. For instance, in Zone 7, I use snapdragons (March-April), petunias (May-July), celosia (July-September), and kale (September-November) for continuous color.
Check seed packets for days to bloom—this tells you exactly when to plant for peak seasonal displays. I always plant early bloomers 6-8 weeks before the last frost and late-season stars 8-10 weeks before the first frost. This staggered approach ensures no bloom gaps. Pro tip: Use a color wheel to mix complementary hues—purples with yellows, reds with greens—for maximum visual impact.
🌿 Step 3: Layer Perennials for Multi-Season Interest
Perennials are the backbone of your year-round calendar. Group them by bloom time: early spring (bleeding heart, lungwort), late spring (peony, iris), summer (coneflower, black-eyed Susan), and fall (sedum, asters). In my Zone 6 garden, I pair dwarf iris (April) with daylilies (June-July) and Russian sage (August-September) to create a seamless transition.
Don’t forget foliage plants like heuchera or hosta—they provide texture and color even when flowers aren’t blooming. I sketch a simple garden map, labeling each perennial’s bloom time and height. This prevents taller plants from shading shorter ones and ensures every season has something exciting to offer. A well-layered garden feels like a living tapestry.
⏰ Step 4: Schedule Deadheading and Succession Planting
Deadhead spent blooms immediately to encourage reblooming in annuals like zinnias and marigolds. I set a weekly reminder to scan the garden for faded flowers—this keeps plants producing new blooms for weeks longer. For perennials, I deadhead after the first flush (e.g., peonies in early June) to trigger a second bloom later in the season.
Succession planting fills gaps naturally. When pansies finish in late spring, I replace them with bachelor’s buttons or sweet alyssum. In late summer, I pull out impatiens (which decline in heat) and tuck in mums or calendula for fall color. This rotating strategy keeps the garden vibrant without overcrowding. I always keep a small notebook by the garden gate to jot down what worked—and what flopped.
📅 Step 5: Adjust for Local Microclimates
Even within one zone, microclimates vary. A south-facing wall stays warmer than the rest of the yard, extending the season for heat-loving plants like portulaca or lantana. I test this by planting tender annuals in sheltered spots a week earlier than the general guideline. Conversely, shady corners may need cool-season plants like impatiens planted later to avoid frost.
Use season extenders like cold frames or row covers for early/late blooms. In my garden, a mini greenhouse lets me start snapdragons indoors in February for March blooms. Track adjustments in your notes—over time, you’ll refine your calendar to fit your unique space perfectly. The goal is a garden that never looks bare, no matter the season.
Tips & tricks for creating a year-round garden color calendar
Here's what I've learned after years of planning flawless seasonal displays—these details make all the difference between a garden that fades and one that thrives year-round.
Zone-Specific Planting Precision: While the USDA map gives you a starting point, I've found that local microclimates can shift bloom times by 2-3 weeks. For example, in Zone 6, my south-facing beds often bloom 10 days earlier than north-facing ones. I always test with tender annuals in sheltered spots to identify these variations before committing to full beds. This adjustment prevents the common mistake of planting heat-lovers too early or cool-season plants too late.
Color Theory for Visual Flow: The secret to seamless transitions between seasons lies in strategic color pairing. I maintain a garden color wheel that maps complementary hues—like pairing purple cleomes with yellow marigolds in summer-to-fall transitions. This creates visual continuity even when plant species change. For fall gardens, I focus on warm tones (oranges, reds) that contrast beautifully with cool-season blues and purples in spring. The key is to plan these transitions 3 months in advance rather than reacting to what's available.
Perennial Layering Strategy: The most underrated technique for year-round interest is vertical layering by bloom time. In my Zone 7 garden, I plant early spring bloomers (bleeding heart, hellebore) at the front where they get morning sun, then mid-season perennials (coneflower, black-eyed Susan) in the middle, and late-season stars (sedum, asters) toward the back. This creates a natural progression of color throughout the year. I also make note of each plant's foliage color—some like heuchera provide vibrant hues even when not in bloom, filling gaps between flowering seasons.
Succession Planting Timeline: Creating a planting calendar with specific dates for each annual rotation is non-negotiable. I use a spreadsheet system that tracks when to remove spent plants and when to install replacements. For example, my Zone 5 calendar shows pansies removed in late May replaced by bachelor's buttons, then impatiens removed in September replaced by calendula. This method prevents the visual chaos of empty spaces while maintaining the garden's health. I always schedule these transitions 2 weeks before the current plant shows signs of decline to ensure continuous coverage.
Pro Tips for Flower Bloom Time Chart
- Here's what I've learned after years of planning flawless seasonal displays—these details make all the difference between a garden that fades and one that thrives year-round.
- Zone-Specific Planting Precision: While the USDA map gives you a starting point, I've found that local microclimates can shift bloom times by 2-3 weeks.
- Color Theory for Visual Flow: The secret to seamless transitions between seasons lies in strategic color pairing.
Frequently asked questions
Got questions about when your favorite flowers will burst into bloom? Here are some of the most common ones—and their answers!
When is the best time to plant flowers based on their bloom time?
Plant cool-season flowers (like pansies or tulips) in early spring or fall, while warm-season bloomers (such as zinnias or marigolds) thrive when soil temperatures hit 60°F+. Check your USDA zone for exact timing—most charts align with local frost dates!
Why is my flower blooming earlier or later than the chart says?
Bloom times vary due to weather, sunlight, soil health, or plant age. A late frost? Delays are normal. Too much shade? Flowers may bloom sporadically. Pro tip: Adjust care (water, fertilizer) and monitor local microclimates for consistency!
How do I find a bloom time chart for my specific garden zone?
Use the USDA Plant Hardiness Zone Map to locate your zone (e.g., Zone 5–9). Many nurseries and extension services offer localized charts. For example, Proven Winners or Burpee provide zone-specific bloom calendars.
Can I extend a flower’s bloom time with tricks?
Yes! Deadhead spent blooms (), mulch for root protection, and water deeply during dry spells. For seasonal bloomers, try succession planting—sow new seeds every 2–3 weeks for continuous color. Cool-season flowers? A light frost can even trigger spring blooms!
What are the easiest flowers to grow for consistent blooms?
Start with low-maintenance champions like:
- Annuals: Marigolds, zinnias, or petunias (bloom all summer with minimal care).
- Perennials: Coneflowers, black-eyed Susans, or daylilies (return yearly with zero replanting!).
Wrapping up and next steps
Understanding your garden’s flower bloom time chart is the first step to creating a vibrant, year-round oasis!
Whether you’re in a warm Zone 7 or a chilly Zone 3, timing is everything—so grab your gardening gloves and start planning. Pro tip: Mix early, mid-, and late-season bloomers for nonstop color! 🌸
Ready to transform your space? Start by sketching a simple layout—place tall flowers at the back, bold hues near walkways, and delicate blooms up front. Then, mark bloom dates on your calendar and shop for seeds or transplants based on your zone. Happy gardening!